Creating metal jewelry is a captivating art form that combines creativity, precision, and technical skill. As a Metal Working supplier, I've had the privilege of witnessing the transformation of raw metal into exquisite pieces of jewelry. In this blog post, I'll share a comprehensive guide on how to create metal jewelry, from selecting the right materials to the finishing touches.
Selecting the Right Metal
The first step in creating metal jewelry is choosing the appropriate metal. Different metals offer unique properties, colors, and levels of durability. Here are some common metals used in jewelry making:
- Gold: Available in various karats, gold is a popular choice for its beauty and value. 14k and 18k gold are commonly used in jewelry, offering a good balance between purity and durability.
- Silver: Sterling silver, which is 92.5% pure silver, is a versatile and affordable option. It has a bright, white appearance and is often used for making rings, necklaces, and earrings.
- Platinum: Platinum is a precious metal known for its strength, durability, and hypoallergenic properties. It has a white, lustrous finish and is often used for high-end jewelry.
- Copper: Copper is a relatively inexpensive metal that is easy to work with. It has a warm, reddish-brown color and can be patinated to create unique finishes.
- Brass: Brass is an alloy of copper and zinc, offering a golden appearance at a lower cost than gold. It is commonly used for making costume jewelry.
When selecting a metal, consider the design of your jewelry, the desired durability, and your budget. You may also want to choose a metal that complements the gemstones or other materials you plan to use.

Gathering Tools and Equipment
Once you've selected the metal, you'll need to gather the necessary tools and equipment for jewelry making. Here are some essential tools for creating metal jewelry:
- Jewelry Saw: A jewelry saw is used to cut metal into various shapes and sizes. It consists of a thin blade that is attached to a frame and is used to make precise cuts.
- File Set: A file set is used to smooth and shape the edges of the metal. Different types of files are available for different tasks, such as flat files, round files, and half-round files.
- Pliers: Pliers are used to bend, shape, and hold the metal. There are several types of pliers available, including chain nose pliers, round nose pliers, and flat nose pliers.
- Soldering Equipment: Soldering is the process of joining two pieces of metal together using a filler metal. You'll need a soldering iron, solder, flux, and a soldering block to perform this task.
- Hammer and Anvil: A hammer and anvil are used to shape and form the metal. The hammer is used to strike the metal, while the anvil provides a solid surface for the metal to be worked on.
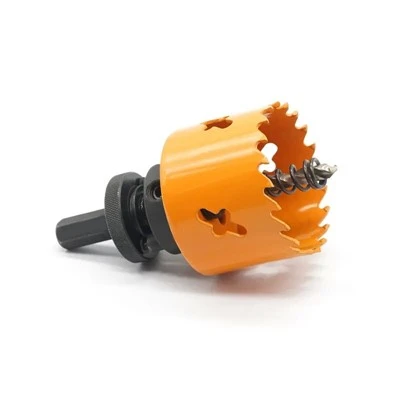
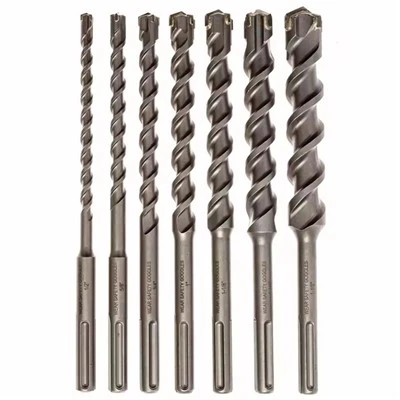
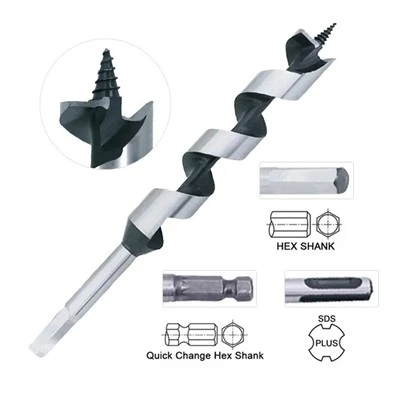
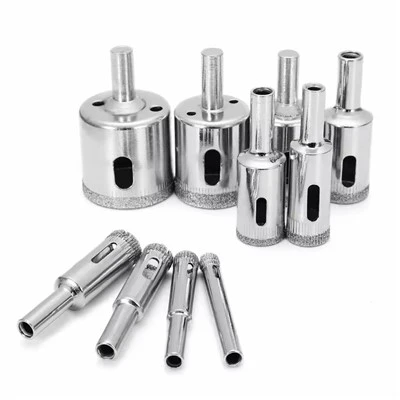
- Drill and Bits: A drill and bits are used to create holes in the metal for setting gemstones or attaching findings. You'll need a variety of drill bits in different sizes to accommodate different gemstones and findings.
In addition to these essential tools, you may also want to invest in specialized equipment, such as a polishing machine, a tumbler, or a laser cutter, depending on the complexity of your jewelry designs. As a Metal Working supplier, we offer a wide range of tools and equipment for jewelry making, including the Hot Sale TCT Hole Saw, TCT Hole Saw, and CHINA Tools TCT Hole Saw, which are ideal for creating precise holes in metal.
Designing Your Jewelry
Before you start working with the metal, it's important to have a clear design in mind. You can sketch your design on paper or use computer-aided design (CAD) software to create a digital model. Consider the following factors when designing your jewelry:
- Style: Choose a style that reflects your personal taste and the intended audience for your jewelry. Whether you prefer a classic, contemporary, or bohemian style, make sure your design is cohesive and visually appealing.
- Proportion and Balance: Pay attention to the proportion and balance of your design. Make sure the different elements of your jewelry, such as the gemstones, metalwork, and findings, are in harmony with each other.
- Functionality: Consider the functionality of your jewelry. If you're designing a ring, make sure it fits comfortably on the finger. If you're designing a necklace, make sure it drapes well and is easy to wear.
- Materials: Choose materials that complement each other and enhance the overall design of your jewelry. Consider the color, texture, and durability of the materials when making your selection.
Once you have a design in mind, you can start creating a prototype of your jewelry using paper or a soft material, such as wax or clay. This will allow you to test the design and make any necessary adjustments before working with the actual metal.
Cutting and Shaping the Metal
Once you have a design and a prototype, it's time to start working with the metal. The first step is to cut the metal into the desired shape and size using a jewelry saw. Make sure to use a sharp blade and cut slowly and carefully to avoid damaging the metal.
After cutting the metal, you'll need to shape it using files, pliers, and a hammer and anvil. Use the files to smooth and shape the edges of the metal, and use the pliers to bend and shape the metal into the desired form. The hammer and anvil can be used to add texture and dimension to the metal.
Soldering the Metal
Soldering is the process of joining two pieces of metal together using a filler metal. This is an important step in jewelry making, as it allows you to create complex designs and attach findings to the metal.
To solder the metal, you'll need a soldering iron, solder, flux, and a soldering block. First, clean the surfaces of the metal that you want to join using a file or sandpaper. Then, apply flux to the surfaces to prevent oxidation and help the solder flow.
Next, heat the soldering iron and apply it to the joint between the two pieces of metal. Once the metal is hot enough, touch the solder to the joint and allow it to melt and flow into the joint. Make sure to apply enough solder to create a strong bond, but not too much that it creates a messy joint.
After soldering, allow the metal to cool completely before handling it. Then, clean the joint using a wire brush or sandpaper to remove any excess solder or flux.
Setting Gemstones
Setting gemstones is a delicate and precise process that requires skill and patience. There are several methods for setting gemstones, including prong settings, bezel settings, and channel settings.
- Prong Settings: Prong settings are the most common method for setting gemstones. They involve using small metal prongs to hold the gemstone in place. Prong settings allow the maximum amount of light to enter the gemstone, enhancing its brilliance and sparkle.
- Bezel Settings: Bezel settings involve surrounding the gemstone with a thin strip of metal. This provides a secure and protective setting for the gemstone, while also adding a sleek and modern look to the jewelry.
- Channel Settings: Channel settings involve setting a row of gemstones between two metal walls. This creates a continuous line of gemstones, giving the jewelry a elegant and sophisticated look.
When setting gemstones, make sure to use the appropriate tools and techniques for the type of setting you're using. You may also want to seek the advice of a professional jeweler if you're unsure how to set a particular gemstone.
Finishing Touches
Once you have soldered the metal and set the gemstones, it's time to add the finishing touches to your jewelry. This may include polishing the metal, adding patina or texture, and attaching findings, such as clasps, jump rings, and ear wires.
To polish the metal, you can use a polishing machine or a soft cloth and polishing compound. This will give the metal a smooth and shiny finish. You can also add patina or texture to the metal using chemicals or a hammer and anvil. This will give the jewelry a unique and rustic look.
Finally, attach the findings to the jewelry using pliers or a soldering iron. Make sure to use the appropriate size and type of findings for the design of your jewelry.
Conclusion
Creating metal jewelry is a rewarding and fulfilling hobby that allows you to express your creativity and create unique pieces of art. By following the steps outlined in this guide, you can learn how to create metal jewelry from start to finish. Remember to choose the right metal, gather the necessary tools and equipment, design your jewelry, cut and shape the metal, solder the metal, set the gemstones, and add the finishing touches. With practice and patience, you'll be able to create beautiful and intricate pieces of jewelry that you'll be proud to wear or give as gifts.
If you're interested in purchasing tools and equipment for jewelry making, or if you have any questions or need advice, please don't hesitate to contact us. We're a Metal Working supplier with years of experience in the industry, and we're committed to providing our customers with high-quality products and excellent customer service. Contact us today to start your jewelry making journey!
References
- "The Complete Metalworker's Handbook" by Tim McCreight
- "Jewelry Making: Techniques and Projects" by Mary Gostelow
- "The Jewelry-Making Bible" by Lisa Kan