Hey there! I'm a supplier in the cutting marble business, and today I'm gonna share with you how to cut marble for a wall niche. It's a pretty cool project that can add a touch of elegance to any room. So, let's dive right in!
Getting the Right Tools
First things first, you need to have the right tools for the job. You can't just go in there with a regular saw and expect to get a clean cut on marble. Here are some essential tools you'll need:
- Diamond Saw Blades: These are a must-have when cutting marble. I've got two great options for you. The Hot Sale Segmented Diamond Saw Blade For Cutting Marble is perfect for getting a smooth and accurate cut. It's designed to handle the hardness of marble and make your cutting process a lot easier. Another option is the Customized Turbo Diamond Saw Blade For Cutting Marble. This blade is customized to fit your specific needs and can cut through marble like a hot knife through butter.
- Measuring Tools: A tape measure and a square are essential for getting the right dimensions for your wall niche. Make sure you measure twice and cut once to avoid any mistakes.
- Safety Gear: Safety should always be your top priority. Wear safety glasses to protect your eyes from flying debris, gloves to protect your hands, and a dust mask to avoid inhaling marble dust.
Preparing the Marble
Once you have your tools ready, it's time to prepare the marble. Here's what you need to do:
- Clean the Marble: Use a clean cloth and some mild soap to clean the marble surface. This will remove any dirt or debris that could interfere with the cutting process.
- Mark the Cutting Line: Use a pencil or a marker to mark the cutting line on the marble. Make sure the line is straight and accurate. You can use a straightedge or a square to help you draw the line.
- Secure the Marble: Place the marble on a stable work surface and secure it with clamps. This will prevent the marble from moving during the cutting process and ensure a clean cut.
Cutting the Marble
Now it's time to start cutting the marble. Here's a step-by-step guide on how to do it:
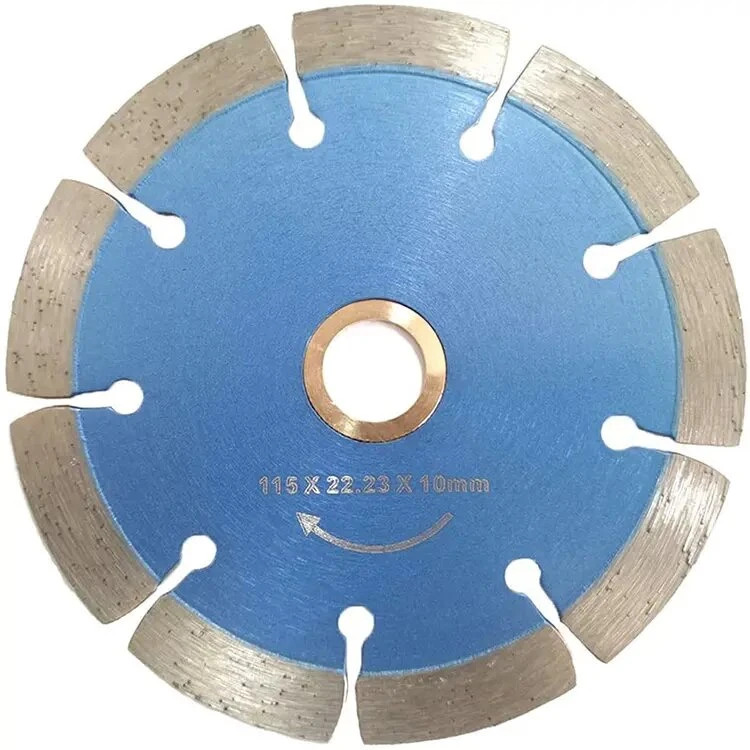

- Set Up the Saw: Install the diamond saw blade on your saw according to the manufacturer's instructions. Make sure the blade is properly tightened and aligned.
- Start the Saw: Turn on the saw and let it reach full speed before you start cutting. This will ensure a smooth and even cut.
- Make the Cut: Slowly lower the saw blade onto the marble along the cutting line. Apply gentle pressure and let the saw do the work. Don't force the saw or push it too hard, as this can cause the blade to break or the marble to crack.
- Keep the Blade Cool: Marble generates a lot of heat when it's being cut, so it's important to keep the blade cool. You can do this by using a water coolant system or by periodically spraying water on the blade and the marble.
- Finish the Cut: Once you've made the cut, turn off the saw and let it come to a complete stop. Remove the marble from the work surface and inspect the cut. If there are any rough edges or chips, you can use a sanding block or a diamond file to smooth them out.
Creating the Wall Niche
After you've cut the marble, it's time to create the wall niche. Here's what you need to do:
- Measure the Wall: Use a tape measure to measure the height, width, and depth of the area where you want to install the wall niche. Make sure you take accurate measurements and account for any unevenness in the wall.
- Mark the Wall: Use a pencil or a marker to mark the outline of the wall niche on the wall. You can use a straightedge or a square to help you draw the outline.
- Cut the Wall: Use a reciprocating saw or a jigsaw to cut out the wall niche according to the marked outline. Make sure you wear safety glasses and a dust mask to protect yourself from flying debris.
- Install the Marble: Place the cut marble into the wall niche and secure it with adhesive or mortar. Make sure the marble is level and flush with the wall. You can use a level to help you ensure that the marble is properly installed.
- Finish the Installation: Once the marble is installed, fill any gaps or seams with caulk or grout. Let the caulk or grout dry completely before you use the wall niche.
Tips and Tricks
Here are some tips and tricks to help you cut marble for a wall niche like a pro:
- Practice on Scrap Marble: If you're new to cutting marble, it's a good idea to practice on some scrap marble first. This will help you get a feel for the cutting process and improve your skills.
- Use the Right Blade for the Job: Different types of diamond saw blades are designed for different types of marble and cutting applications. Make sure you choose the right blade for the job to ensure a clean and accurate cut.
- Take Your Time: Cutting marble is a slow and precise process, so it's important to take your time and be patient. Rushing through the process can lead to mistakes and accidents.
- Keep Your Tools Clean and Sharp: Regularly clean and sharpen your tools to ensure they're in good working condition. Dull or dirty tools can make the cutting process more difficult and increase the risk of accidents.
Conclusion
Cutting marble for a wall niche is a challenging but rewarding project. With the right tools, preparation, and techniques, you can create a beautiful and functional wall niche that will enhance the look of any room. If you're interested in purchasing high-quality diamond saw blades for cutting marble, check out our Hot Sale Segmented Diamond Saw Blade For Cutting Marble, Customized Turbo Diamond Saw Blade For Cutting Marble, and Fast Cutting Glass Cutting Disc For Porcelain. We're always here to help you with your cutting needs, so don't hesitate to contact us if you have any questions or need more information. Let's work together to make your next marble cutting project a success!
References
- "Marble Cutting Techniques and Tools." DIY Network.
- "How to Cut Marble: A Step-by-Step Guide." This Old House.
- "Safety Tips for Cutting Marble." Home Depot.