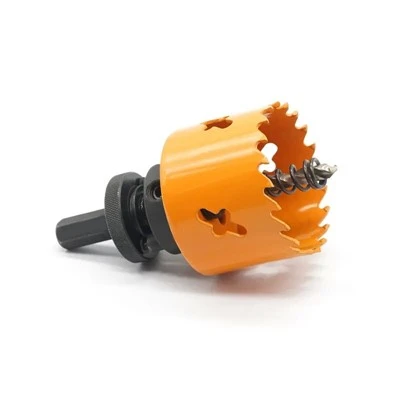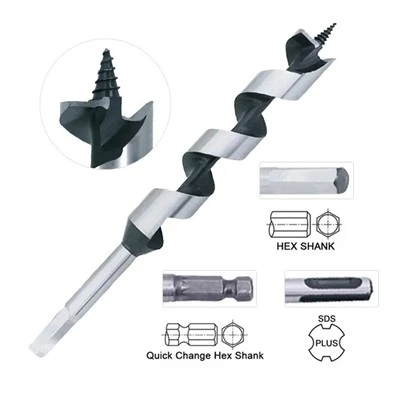
A hole saw is an essential tool in many construction, woodworking, and DIY projects. However, like any tool, it can break or become damaged over time. As a hole saw supplier, I've encountered numerous customers facing issues with broken hole saws. In this blog post, I'll share some practical tips on how to deal with a broken hole saw, ensuring you can get back to your projects with minimal downtime.
Understanding the Causes of a Broken Hole Saw
Before we dive into the solutions, it's crucial to understand why a hole saw might break. Several factors can contribute to this problem:
- Overloading: Using a hole saw on a material that is too hard or thick for its capacity can cause excessive stress on the teeth, leading to breakage.
- Incorrect Speed: Operating the hole saw at an inappropriate speed can also result in damage. Too fast, and the teeth may overheat and wear out quickly; too slow, and the saw may bind and break.
- Dull Teeth: A hole saw with dull teeth is more likely to break. Dull teeth require more force to cut, increasing the risk of damage.
- Improper Handling: Mishandling the hole saw, such as applying uneven pressure or using it at an angle, can cause the teeth to chip or break.
Assessing the Damage
Once you've identified that your hole saw is broken, the next step is to assess the extent of the damage. Here are some things to look for:
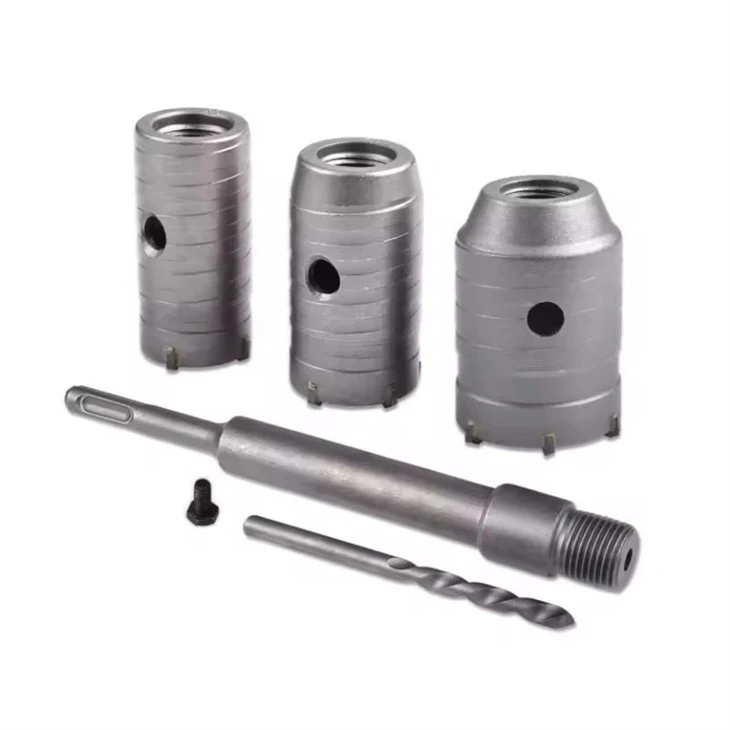
- Broken Teeth: Check if any of the teeth on the hole saw are broken or missing. If only a few teeth are damaged, you may be able to repair the saw.
- Cracked Body: Look for cracks in the body of the hole saw. A cracked body can compromise the structural integrity of the saw and make it unsafe to use.
- Loose Parts: Ensure that all parts of the hole saw, such as the arbor and pilot bit, are securely attached. Loose parts can cause the saw to wobble and break.
Repairing a Broken Hole Saw
If the damage to your hole saw is minor, you may be able to repair it yourself. Here are some steps you can take:

- Replace Broken Teeth: If only a few teeth are broken, you can replace them using a tooth replacement kit. These kits typically include replacement teeth and the necessary tools for installation.
- Sharpen Dull Teeth: If the teeth on your hole saw are dull but not broken, you can sharpen them using a file or a sharpening stone. Make sure to follow the manufacturer's instructions for sharpening.
- Weld Cracked Parts: If the body of the hole saw is cracked, you may be able to weld the crack using a welding machine. However, this requires some welding skills and should only be attempted if you're confident in your abilities.
Replacing a Broken Hole Saw
If the damage to your hole saw is extensive or if you're unable to repair it, you'll need to replace it. As a hole saw supplier, I offer a wide range of high-quality hole saws to meet your needs. Here are some options to consider:

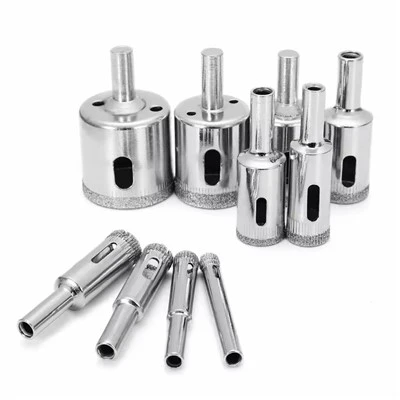
- Factory Supply Customized Diamond Hole Saw Set: This set includes multiple diamond hole saws in different sizes, allowing you to tackle a variety of projects. The diamond teeth provide excellent cutting performance and durability.
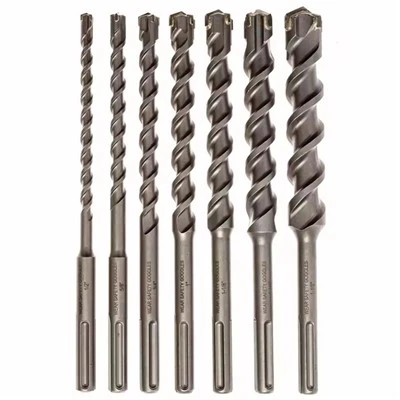
- Sds Plus Concrete 40mm Drill Bit Hole Saw Core For Wall Concrete Marble: This hole saw is specifically designed for cutting through concrete, marble, and other hard materials. It features a strong and durable construction, ensuring long-lasting performance.
- Diamond Drill 5pcs/Set Dia 20/35/40/50/68mm Vacuum Brazed Diamond Drill Bit M14 Drilling Core Bits Marble Ceramic Hole Saw Crown: This set of diamond drill bits is perfect for drilling holes in marble, ceramic, and other brittle materials. The vacuum brazed diamond teeth provide precise and efficient cutting.
Preventing Future Breakages
To avoid dealing with broken hole saws in the future, it's important to take proper care of your tools. Here are some tips to help you prevent breakages:
- Use the Right Tool for the Job: Make sure to choose a hole saw that is appropriate for the material you're cutting. Using the wrong tool can cause excessive stress on the saw and lead to breakage.
- Follow the Manufacturer's Instructions: Always read and follow the manufacturer's instructions for using and maintaining your hole saw. This includes using the correct speed, applying the right amount of pressure, and lubricating the saw as needed.
- Inspect Your Tools Regularly: Before using your hole saw, inspect it for any signs of damage or wear. If you notice any issues, repair or replace the saw before using it.
- Store Your Tools Properly: When not in use, store your hole saws in a dry and secure place. This will help prevent rust and damage to the teeth.
Conclusion
Dealing with a broken hole saw can be frustrating, but with the right knowledge and tools, you can get back to your projects quickly. By understanding the causes of breakages, assessing the damage, and taking appropriate action, you can either repair or replace your hole saw and prevent future issues. As a hole saw supplier, I'm committed to providing high-quality products and excellent customer service. If you have any questions or need assistance with choosing the right hole saw for your project, please don't hesitate to contact me. I'm here to help you find the best solution for your needs.
References
- "Hole Saw Basics." The Family Handyman.
- "How to Sharpen a Hole Saw." DIY Network.
- "Choosing the Right Hole Saw for Your Project." This Old House.