Looking to add a touch of craftsmanship to your space? Building a wooden drawer can be a fulfilling DIY project that not only enhances the functionality of your furniture but also allows you to showcase your woodworking skills. As a trusted Wood Working supplier, I'm here to guide you through the process of creating a wooden drawer from start to finish.
Materials and Tools
Before we begin, let's gather the necessary materials and tools. You'll need:
- Wood: Choose a high-quality hardwood such as oak, maple, or cherry for durability and a beautiful finish.
- Screws and Nails: Select the appropriate size and type of screws and nails for your project.
- Wood Glue: A strong wood glue will ensure a secure bond between the joints.
- Drawer Slides: Choose the right type of drawer slides based on your needs and the weight of the drawer.
- Hinges: If you're creating a drawer with a front panel, you'll need hinges to attach it.
- Sandpaper: Various grits of sandpaper will be used to smooth the wood surfaces.
- Measuring Tools: A tape measure, square, and pencil are essential for accurate measurements.
- Cutting Tools: A saw, jigsaw, or table saw will be needed to cut the wood to size.
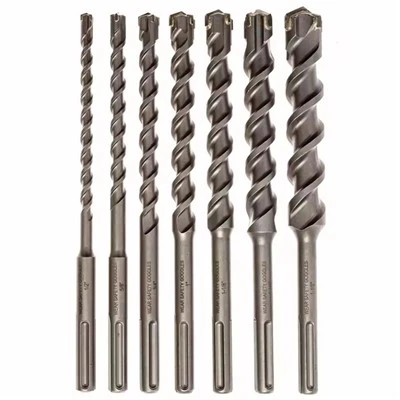
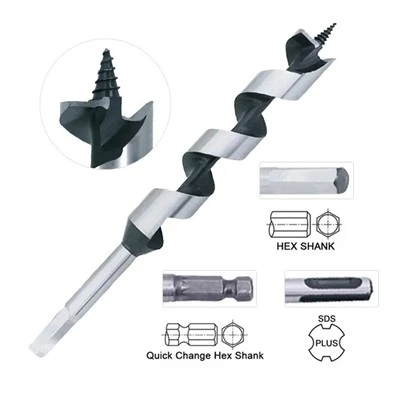
- Drill: A drill with various bits will be used to create holes for screws and dowels.
- Clamps: Clamps will help hold the wood pieces in place while the glue dries.
Step 1: Design and Planning
The first step in making a wooden drawer is to design and plan your project. Consider the size and style of the drawer you want to create, as well as the type of furniture it will be installed in. Sketch out your design on paper and take accurate measurements to ensure a proper fit.
Step 2: Cutting the Wood
Once you have your design and measurements, it's time to cut the wood to size. Use a saw, jigsaw, or table saw to make precise cuts. Make sure to wear safety goggles and follow all safety precautions when using power tools.
Step 3: Assembling the Drawer Box
The next step is to assemble the drawer box. Start by applying wood glue to the edges of the wood pieces and joining them together. Use clamps to hold the pieces in place while the glue dries. You can also use screws or nails to reinforce the joints.
Step 4: Installing the Drawer Slides
Once the drawer box is assembled, it's time to install the drawer slides. Follow the manufacturer's instructions to attach the slides to the drawer box and the furniture. Make sure the slides are level and properly aligned for smooth operation.
Step 5: Adding the Front Panel
If you're creating a drawer with a front panel, you'll need to attach it to the drawer box. Use hinges to attach the front panel to the drawer box, making sure it opens and closes smoothly. You can also add a handle or knob to the front panel for easy access.
Step 6: Finishing the Drawer
The final step in making a wooden drawer is to finish it. Sand the wood surfaces to smooth out any rough edges or imperfections. You can then apply a stain or paint to the drawer to protect the wood and give it a beautiful finish. Let the finish dry completely before using the drawer.
Tips and Tricks
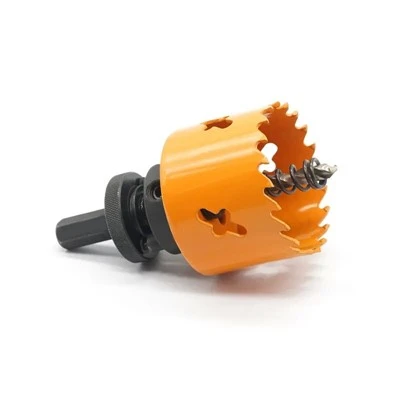
- Use a Hole Saw: When creating holes for screws or dowels, consider using a Hole Saw for Wood Drilling. This tool will make the process faster and more precise.
- Choose the Right Drawer Slides: Make sure to choose the right type of drawer slides based on the weight and size of the drawer. Hot Sale High Carbon Steel Hole Saw can provide a smooth and durable operation.
- Take Your Time: Building a wooden drawer takes time and patience. Don't rush the process and make sure to follow all the steps carefully for a professional-looking result.
Conclusion
Making a wooden drawer is a rewarding DIY project that allows you to add a personal touch to your furniture. By following these steps and using the right tools and materials, you can create a beautiful and functional drawer that will last for years to come. As a Wood Working supplier, we're here to provide you with the high-quality products and expert advice you need to complete your project successfully. If you have any questions or need assistance, please don't hesitate to contact us. We look forward to helping you bring your woodworking ideas to life.


References
- Woodworking Magazine
- Fine Woodworking
- Popular Woodworking