Metal bookends are not only practical items for keeping your books organized but also can serve as decorative elements in your study or library. As a professional Metal Working supplier, I'm excited to share with you a detailed guide on how to make metal bookends. In this blog, I'll walk you through the entire process, from selecting the right materials and tools to the final finishing touches.
Materials and Tools Selection
Before you start making metal bookends, you need to gather the necessary materials and tools.
Materials:
- Metal sheets: You can choose from various types of metals, such as steel, aluminum, or brass. Steel is a popular choice due to its strength and durability. The thickness of the metal sheet should be around 1/8 - 1/4 inch, depending on the size and design of your bookends.
- Metal rods or bars: These can be used for the base or to add structural support to your bookends.
- Welding wire (if you plan to weld): The type of welding wire should match the metal you are using.
Tools:
- Measuring tools: A tape measure and a square are essential for accurate measurements.
- Cutting tools: A hacksaw or a metal cutting saw can be used to cut the metal sheets and rods. For more precise cuts, you may consider using a plasma cutter or a laser cutter if available.
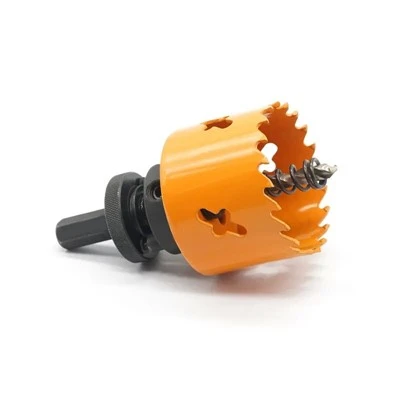
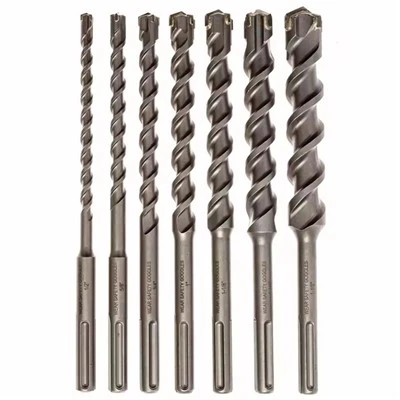
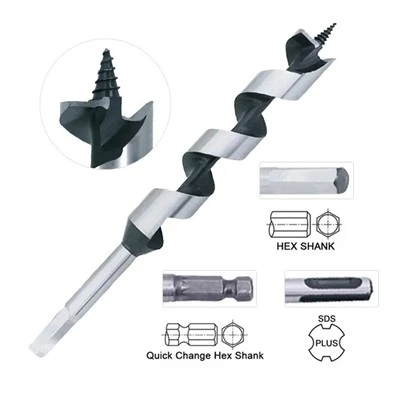
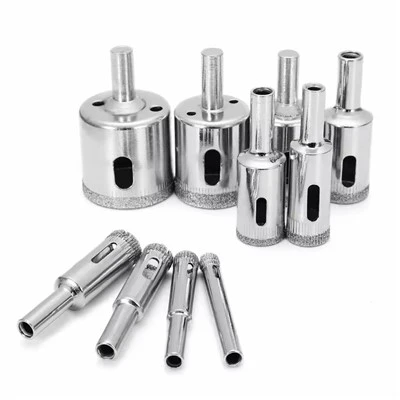
- Drilling tools: A drill and drill bits are needed for creating holes in the metal. You can find high - quality drill bits like the Hot Sale TCT Hole Saw, Bi - metal Hole Saw, and TCT Hole Saw which are suitable for different metal drilling requirements.
- Welding equipment (optional): If you want to join metal parts together, a welding machine is necessary. There are different types of welding machines, such as MIG (Metal Inert Gas) and TIG (Tungsten Inert Gas) welders.
- Grinding and sanding tools: A grinder and sandpaper are used to smooth the edges and surfaces of the metal after cutting and welding.
Designing Your Bookends
The design of your bookends is a crucial step. You can start by sketching your ideas on paper. Consider the overall shape, size, and style of the bookends. Some popular designs include geometric shapes like triangles, rectangles, or circles, or you can get creative and design something unique, such as animal - shaped or abstract bookends.
Once you have a design in mind, transfer it onto the metal sheet using a marker or a scribe. Make sure to measure and mark the dimensions accurately to ensure that both bookends are identical.
Cutting the Metal
Using the cutting tools you've selected, carefully cut the metal sheet according to your design. If you're using a hacksaw, make sure to use a fine - tooth blade for a cleaner cut. When using a power saw, follow all safety precautions, such as wearing safety goggles and gloves.
For the metal rods or bars, cut them to the appropriate lengths for the base or support structure. You may need to make angled cuts depending on your design.
Drilling Holes
If your design requires holes, use the drill and the appropriate drill bits. Start with a small drill bit to create a pilot hole, and then gradually increase the size to the desired diameter. This helps prevent the metal from cracking or the drill bit from wandering.
When using the drill, apply steady pressure and keep the drill perpendicular to the metal surface. If you're using one of the hole saws mentioned earlier, follow the manufacturer's instructions for proper use and safety.
Joining the Metal Parts
There are several ways to join the metal parts together. If you're using welding, clean the surfaces of the metal parts to be welded to ensure a strong bond. Set up the welding machine according to the type of metal and the welding process you're using.
For MIG welding, feed the welding wire through the gun and adjust the voltage and wire feed speed. Hold the welding gun at the correct angle and move it steadily along the joint to create a continuous weld. TIG welding is more precise and requires more skill, but it can produce high - quality welds.
If you don't want to weld, you can use metal adhesives or mechanical fasteners like screws and nuts to join the parts. However, welding generally provides a stronger and more permanent connection.
Shaping and Finishing
After joining the metal parts, you may need to shape the bookends further. Use a grinder to smooth any rough edges or uneven surfaces. You can also use sandpaper to achieve a finer finish. Start with a coarse - grit sandpaper and gradually move to a finer - grit sandpaper for a smooth and polished look.
You can add decorative elements to the bookends, such as engraving, painting, or applying a metal finish like powder coating. Engraving can be done using a rotary tool or a laser engraver, allowing you to add patterns, text, or your logo.
Final Assembly
Once the shaping and finishing are complete, check the bookends for any loose parts or rough spots. Make any necessary adjustments. If you're using a base made of metal rods or bars, attach it securely to the main body of the bookends.
Quality Control
Before considering your metal bookends finished, conduct a quality control check. Make sure that both bookends are the same size and shape. Check the stability of the bookends by placing them on a flat surface and testing their ability to hold books.
Inspect the welds (if any) for cracks or porosity. Look for any scratches or blemishes on the surface and touch up if necessary.


Contact for Procurement
If you're interested in purchasing high - quality metal working tools or materials for making your own bookends or other metal projects, I'm here to help. As a Metal Working supplier, I offer a wide range of products that can meet your needs. Whether you need hole saws, welding equipment, or metal sheets, feel free to contact me for more information and to start a procurement discussion.
References
- "Metalworking for Beginners" by Jack Donovan
- Manufacturer's manuals for the hole saws and welding equipment
- Online metalworking forums and communities for tips and techniques.