Hey there, fellow woodworking enthusiasts! I'm a supplier in the woodworking game, and today I'm stoked to share with you how to use a planer in woodworking. A planer is a super handy tool that can really up your woodworking game, whether you're a newbie or a seasoned pro.
First off, let's talk about what a planer actually is. A planer is a power tool that's used to flatten, smooth, and thickness wood. It's got a set of rotating blades that shave off thin layers of wood as it passes through the machine. This helps you get a consistent thickness and a smooth surface on your wood pieces.
Getting Ready to Use the Planer
Before you fire up the planer, there are a few things you need to do to get ready. First, make sure you've got the right safety gear on. That means safety glasses to protect your eyes from flying wood chips, and ear protection because planers can be pretty loud. You might also want to wear a dust mask to keep from breathing in all that sawdust.
Next, check your planer to make sure it's in good working condition. Look for any loose parts, and make sure the blades are sharp. Dull blades can make your planing job a lot harder and won't give you as good of a finish. You should also adjust the infeed and outfeed tables so they're level with each other and at the right height for the wood you're going to be planing.
Setting the Thickness
One of the most important steps in using a planer is setting the right thickness. Most planers have a thickness adjustment knob or lever that you can use to set how much wood the planer will remove with each pass. Start by setting the planer to remove a small amount of wood, like 1/32 of an inch. You can always make additional passes to remove more wood if you need to.
To set the thickness, measure the thickness of your wood piece with a caliper or a ruler. Then, adjust the planer so that it's set to remove the amount of wood you want. You can test the setting by running a scrap piece of wood through the planer. Check the thickness of the scrap piece after it comes out of the planer to make sure it's what you want.
Feeding the Wood
Once you've got the thickness set, it's time to start feeding the wood through the planer. Make sure the wood is straight and flat before you start. If it's warped or bowed, the planer might not be able to plane it evenly. You can try using a jointer to flatten one side of the wood first if it's really warped.

When you're feeding the wood through the planer, hold it firmly and push it steadily through the machine. Don't try to force the wood through too quickly, or you might damage the planer or get a poor finish. It's also important to keep your hands away from the blades. Most planers have a safety guard to help protect you, but it's still a good idea to be careful.
Making Multiple Passes
In most cases, you'll need to make multiple passes through the planer to get the wood to the right thickness. After each pass, check the thickness of the wood with a caliper or a ruler. If you need to remove more wood, adjust the planer and make another pass. Just remember to take it slow and remove a small amount of wood with each pass.
Dealing with Different Types of Wood
Different types of wood can behave differently when you're planing them. Hardwoods like oak and maple are generally easier to plane than softwoods like pine. Softwoods can be more prone to tear-out, which is when the wood fibers are pulled out instead of being cut cleanly.
To reduce tear-out when planing softwoods, you can try using a sharp blade and taking lighter passes. You can also try planing against the grain in small sections to help prevent tear-out. Some planers also have a feature called a chipbreaker, which can help reduce tear-out by breaking up the wood chips as they're being cut.
Maintenance and Care
To keep your planer in good working condition, it's important to do some regular maintenance. After each use, clean the planer to remove any sawdust and debris. You can use a brush or a vacuum to clean the inside of the planer.
You should also sharpen the blades regularly. Dull blades can make your planing job a lot harder and won't give you as good of a finish. You can either sharpen the blades yourself using a sharpening stone or a blade sharpener, or you can take them to a professional to have them sharpened.
Other Tools for Woodworking
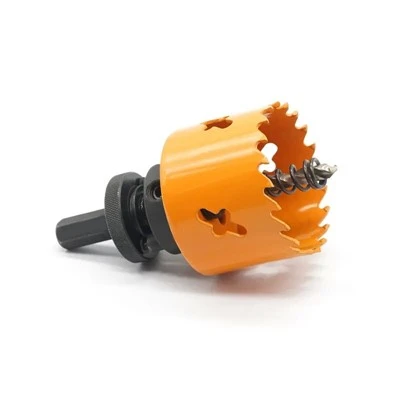
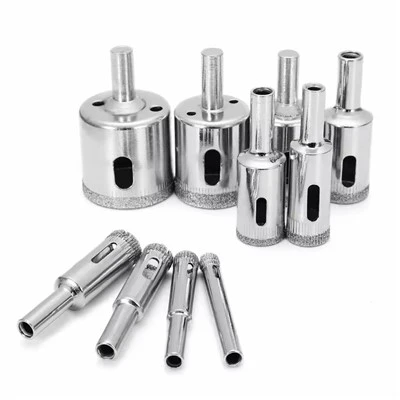
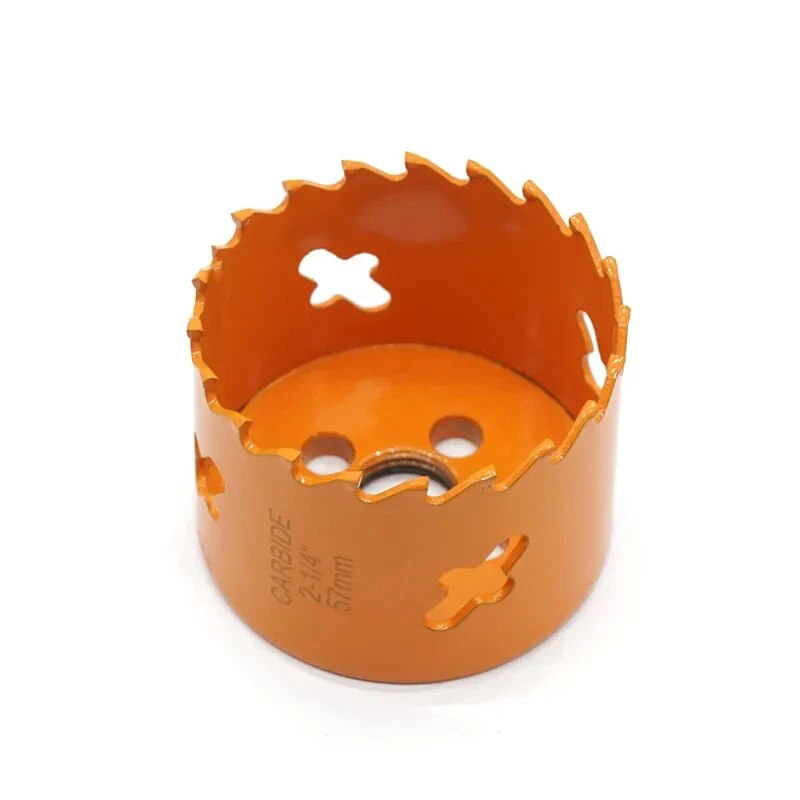
While a planer is a great tool for flattening and thicknessing wood, there are other tools that can come in handy in your woodworking projects. For example, if you need to drill holes in your wood, you might want to check out some of the hole saws we offer. We've got some great options like the Factory Brazing Diamond Hole Saw Hole Saw Drilling Bits, the Hot Sale High Carbon Steel Hole Saw, and the Hole Saw for Wood Drilling. These hole saws are designed to make clean, precise holes in wood, and they can really make your woodworking projects a lot easier.
Conclusion
Using a planer in woodworking can be a lot of fun, and it can really help you take your projects to the next level. By following these tips and taking the time to learn how to use your planer properly, you'll be able to get great results every time.
If you're interested in purchasing a planer or any of the other woodworking tools we offer, or if you have any questions about our products, don't hesitate to reach out. We're here to help you find the right tools for your woodworking needs and to make sure you have a great experience with our products.
References
- Woodworking for Beginners: A Comprehensive Guide.
- Power Tools Handbook.
- The Complete Book of Woodworking Techniques.