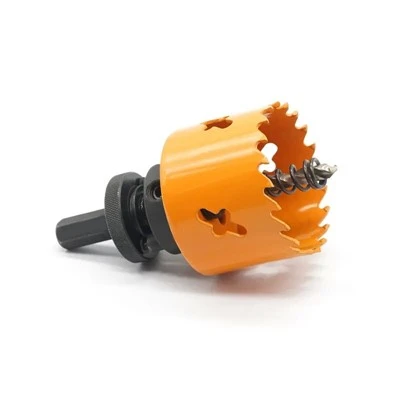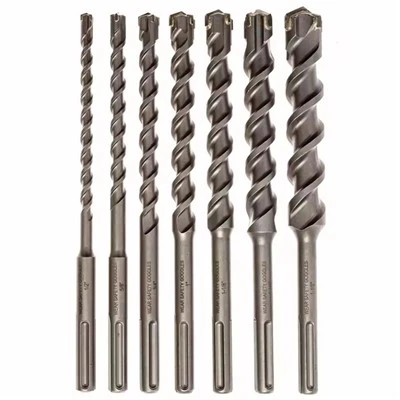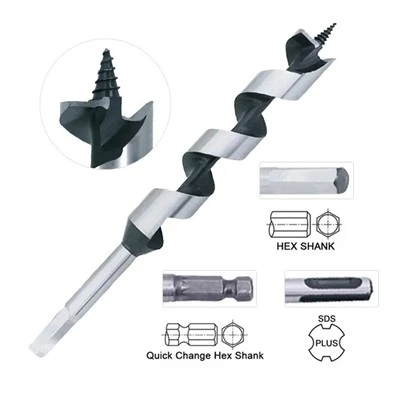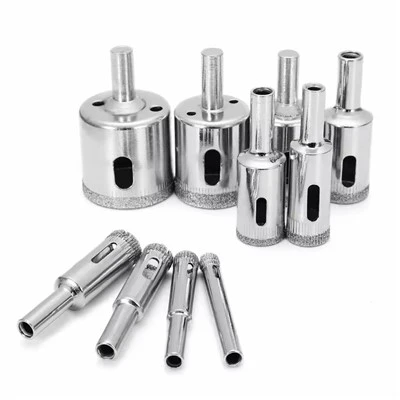
When it comes to drilling into tough materials like concrete, brick, or stone, an SDS hammer drill bit is a contractor's best friend. As a seasoned supplier of SDS hammer drill bits, I've seen firsthand the difference that proper technique can make in the efficiency and effectiveness of drilling operations. In this blog post, I'll share some special techniques for using an SDS hammer drill bit that can help you get the most out of your tool and achieve professional-grade results.
Understanding the Basics of SDS Hammer Drill Bits
Before diving into the techniques, it's important to understand the basic design and function of SDS hammer drill bits. SDS stands for "Slotted Drive System," which refers to the unique way the drill bit is attached to the drill. The bit has two grooves on its shank that fit into corresponding slots in the chuck of the drill, allowing for a secure and efficient transfer of power from the drill to the bit.
SDS hammer drill bits are designed to work in conjunction with a hammer drill, which uses a piston mechanism to deliver rapid hammer blows to the bit as it rotates. This combination of rotation and hammering action allows the bit to break through tough materials more easily than a standard drill bit.
Selecting the Right Bit for the Job
One of the most important factors in achieving successful drilling results is selecting the right bit for the job. There are several different types of SDS hammer drill bits available, each designed for specific applications and materials.
- Masonry Bits: These are the most common type of SDS hammer drill bits and are designed for drilling into concrete, brick, and stone. They typically have a carbide tip that is specifically designed to withstand the high impact forces generated by the hammer drill. SDS Hammer Drill Bit With Tungsten Carbide Tip for Concrete is an excellent choice for masonry applications.
- Wood Bits: If you need to drill into wood, you'll want to use a wood bit. These bits have a different design than masonry bits, with a sharper point and a wider cutting edge to help them cut through wood more efficiently.
- Metal Bits: For drilling into metal, you'll need a metal bit. These bits are typically made from high-speed steel or cobalt and have a special coating to help reduce friction and heat buildup.
When selecting a bit, it's also important to consider the size of the bit. The size of the bit you need will depend on the size of the hole you want to drill and the material you're drilling into. Make sure to choose a bit that is the correct size for your application to ensure optimal performance.
Preparing the Work Area
Before you start drilling, it's important to prepare the work area to ensure your safety and the success of your project. Here are some steps you can take to prepare the work area:
- Mark the Drilling Location: Use a pencil or marker to mark the location where you want to drill the hole. This will help you ensure that you drill the hole in the right place.
- Secure the Workpiece: If you're drilling into a workpiece, make sure it is securely clamped or held in place to prevent it from moving while you're drilling.
- Wear Protective Gear: Always wear safety glasses, ear protection, and a dust mask when using a hammer drill to protect yourself from flying debris and noise.
- Check the Drill and Bit: Before you start drilling, make sure the drill is in good working condition and the bit is properly installed in the chuck.
Using the Right Drilling Technique
Once you've selected the right bit and prepared the work area, it's time to start drilling. Here are some tips for using the right drilling technique:
- Apply Steady Pressure: When drilling, apply steady pressure to the drill to keep the bit moving forward. Avoid applying too much pressure, as this can cause the bit to overheat and break.
- Use the Hammer Function: Make sure to use the hammer function on your drill to deliver the rapid hammer blows that are necessary for breaking through tough materials. Most hammer drills have a switch that allows you to turn the hammer function on and off.
- Keep the Bit Cool: Drilling generates a lot of heat, which can cause the bit to overheat and dull quickly. To keep the bit cool, periodically stop drilling and let the bit cool down. You can also use a lubricant or coolant to help reduce friction and heat buildup.
- Drill at the Right Speed: The speed at which you drill will depend on the material you're drilling into and the size of the bit. As a general rule, you should drill at a slower speed when drilling into harder materials and at a faster speed when drilling into softer materials.
- Use the Right Depth Stop: If you need to drill a hole to a specific depth, use a depth stop on your drill to ensure that you drill the hole to the correct depth. This will help you avoid drilling too deep and damaging the workpiece.
Maintaining Your SDS Hammer Drill Bit
Proper maintenance of your SDS hammer drill bit is essential for ensuring its longevity and performance. Here are some tips for maintaining your bit:


- Clean the Bit After Use: After each use, clean the bit with a wire brush to remove any debris or dust that may have accumulated on the bit. This will help prevent the bit from becoming clogged and ensure optimal performance.
- Sharpen the Bit Regularly: Over time, the carbide tip on your bit will wear down and become dull. To keep the bit sharp, you should sharpen it regularly using a diamond sharpening stone or a bit sharpener.
- Store the Bit Properly: When you're not using the bit, store it in a cool, dry place to prevent it from rusting or corroding. You can also use a bit case or a toolbox to protect the bit from damage.
Troubleshooting Common Problems
Even with the right technique and maintenance, you may encounter some common problems when using an SDS hammer drill bit. Here are some tips for troubleshooting these problems:
- Bit Getting Stuck: If the bit gets stuck in the hole, stop drilling immediately and try to back the bit out slowly. If the bit is still stuck, you may need to use a pair of pliers or a wrench to remove it.
- Bit Breaking: If the bit breaks while you're drilling, stop drilling immediately and remove the broken bit from the drill. Make sure to wear gloves when handling the broken bit to avoid getting cut.
- Drill Not Hammering: If the drill is not hammering, make sure the hammer function is turned on and the drill is in good working condition. You may also need to check the drill's air filter or lubrication system to ensure that it is functioning properly.
Conclusion
Using an SDS hammer drill bit can be a challenging but rewarding experience. By selecting the right bit, preparing the work area, using the right drilling technique, maintaining the bit properly, and troubleshooting common problems, you can achieve professional-grade results and get the most out of your tool.
If you're in the market for high-quality SDS hammer drill bits, look no further. As a leading supplier of Sinodream SDS Plus Hammer Drill For Concrete and SDS Plus Hammer Drill For Concrete, we offer a wide range of products to meet your needs. Whether you're a professional contractor or a DIY enthusiast, we have the right bit for the job.
If you have any questions or would like to discuss your specific requirements, please don't hesitate to contact us. We're here to help you find the best solution for your drilling needs.
References
- "Drilling Techniques for Masonry and Concrete." The Family Handyman.
- "How to Use a Hammer Drill." This Old House.
- "SDS Hammer Drill Bits: A Guide to Selection and Use." Tool Reviews.